Entra Private Access: Replace legacy VPN within an hour
&edge_flat=false)
I was away for a few weeks due to health reasons, but now that I’m back, I wanted to dive into a topic focused on Entra ID.
Scenario: One of my customers reached out to me and explained they wanted to have alternative approach to their SSL VPN which they use. They wanted modern way to access resources present in private network, more of the ZTNA based approach and more simple to scale.
Solution: One option is to use the SSL VPN or Point-to-Site connectivity provided by vWAN or VPN Gateway. However, we’ll focus on Entra Private Access, the latest offering from Microsoft, included as part of the Microsoft Security Service Edge (SSE) solution.
We’ll focus only on Entra Private Access, which lets you connect to private resources on Azure or on-premises from your endpoints while they are on a public network. We’ll cover Entra Internet Access later.
Pre-Requisite
There are certain pre-requisites that need to be followed.
- License: Microsoft Entra ID P1 should be assigned to the admin who’s configuring the private access.
- License: Microsoft Entra Suite or Standalone Entra Private Access for all the end clients.
- RBAC: Global Secure Access Administrator and Application Administrator assigned to the user who’s configuring Entra Private Access.
- Connector Server: A windows server which has internet outbound connectivity. This server connects to Entra Private Access services and proxies the connections to resources that are connected via private endpoints. All connections pass through this server.
- A Windows 10/11 client to test connectivity to the server or some Azure private endpoint services. This client must be Entra ID joined or Hybrid joined.
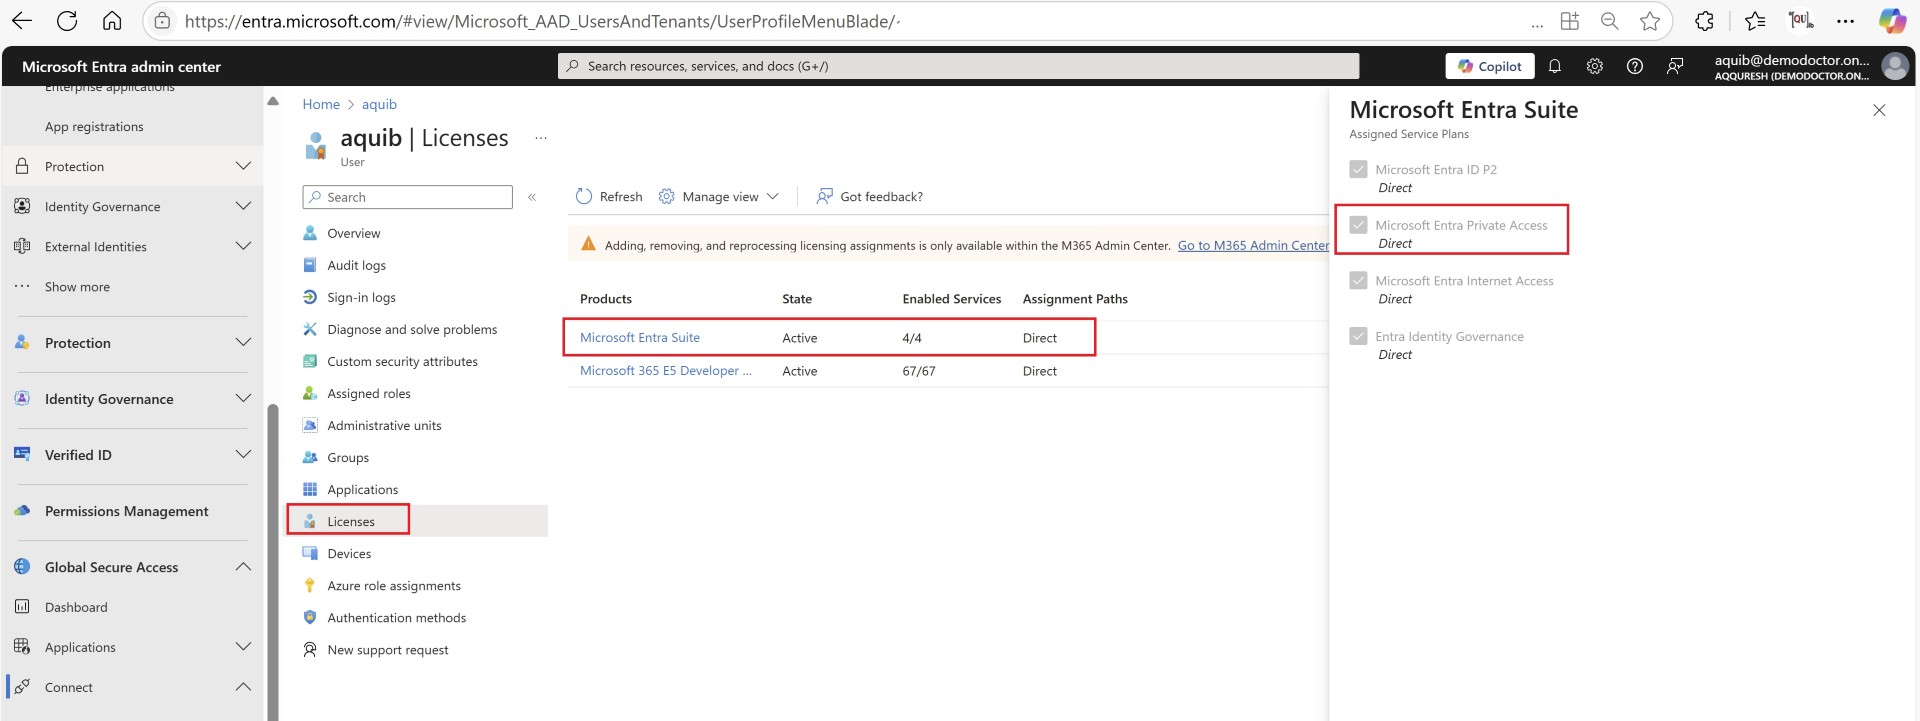
License
Assign relevant license to the user:
Enable Private Access Profile under traffic forwarding.

Private Access Connector Installation
Download the private access connector click here
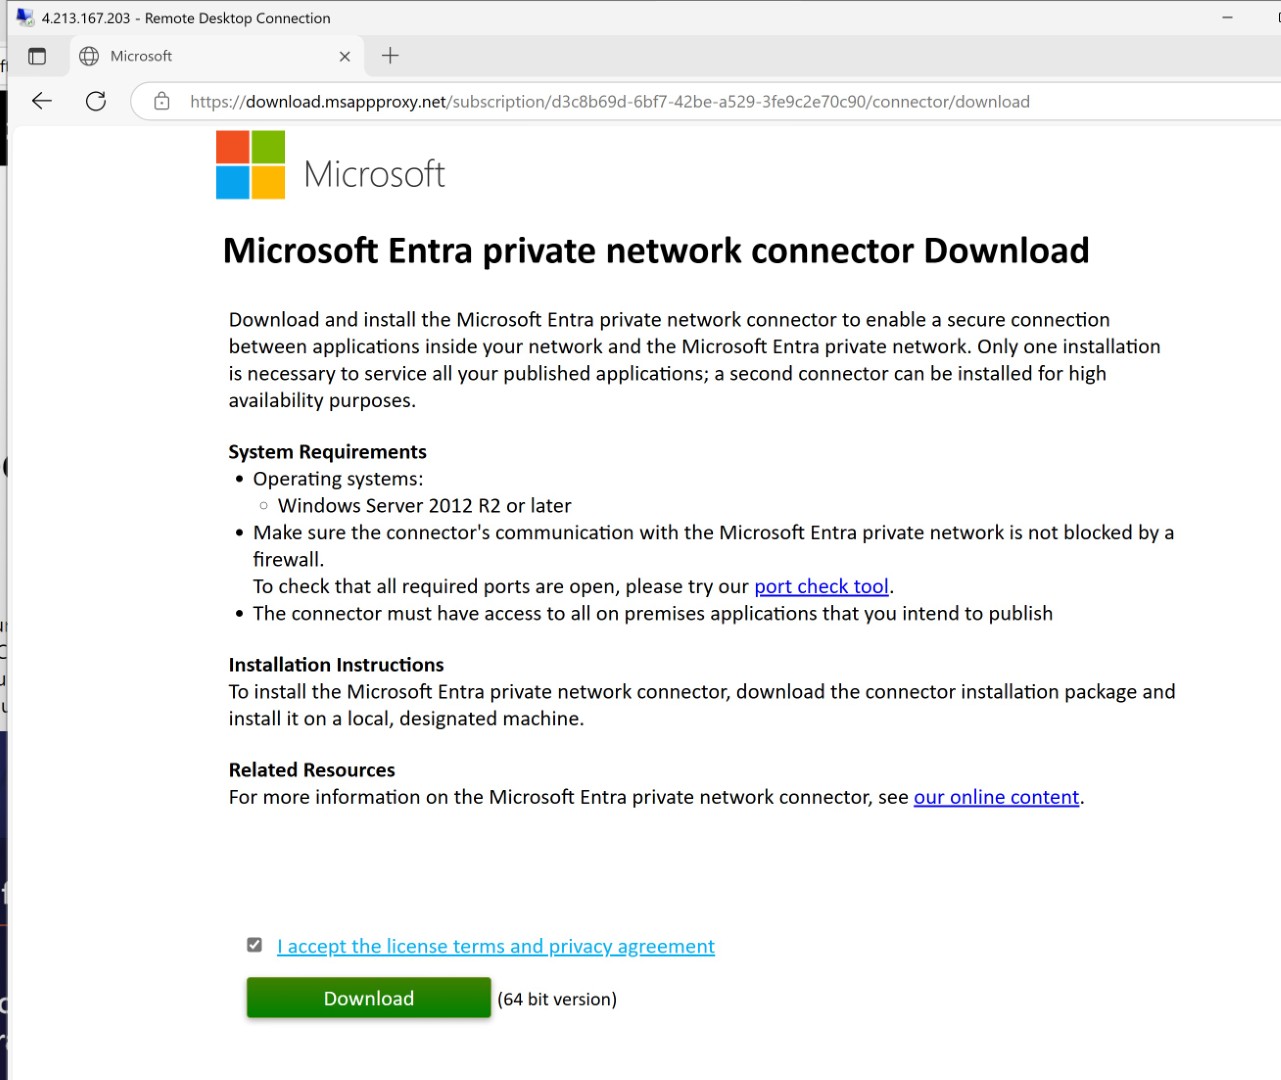
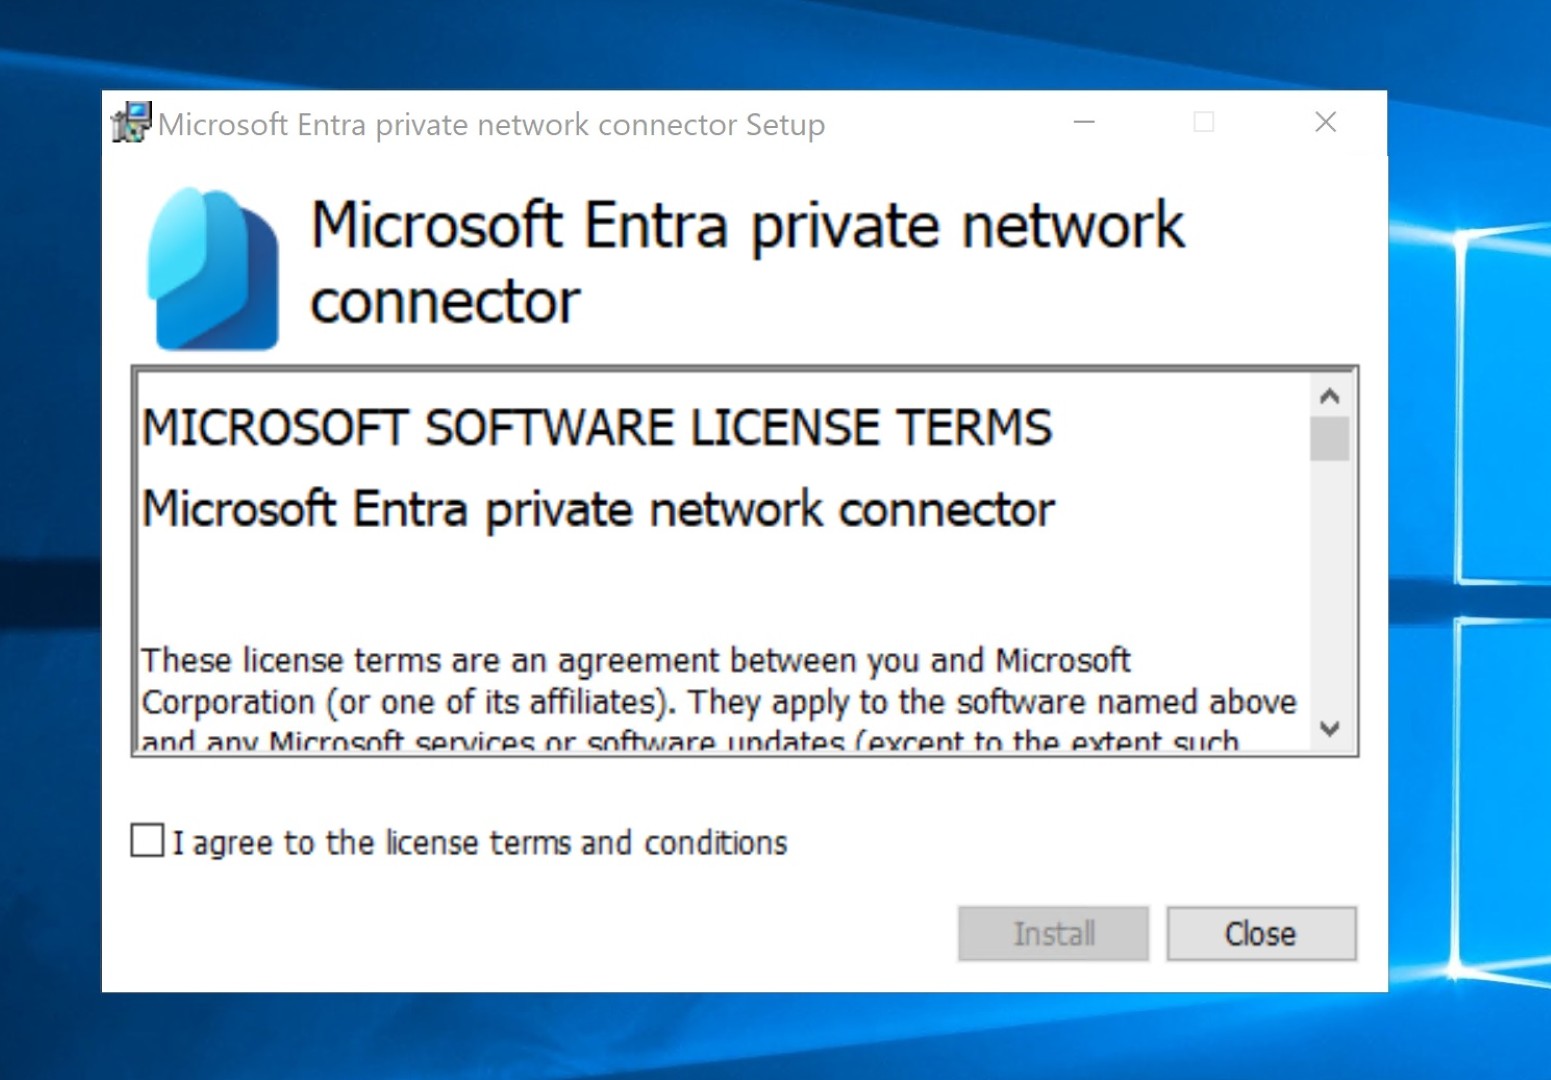
Install it on the windows server. There can be many connector appliances based on how much application you’re planning to publish through Entra private access.
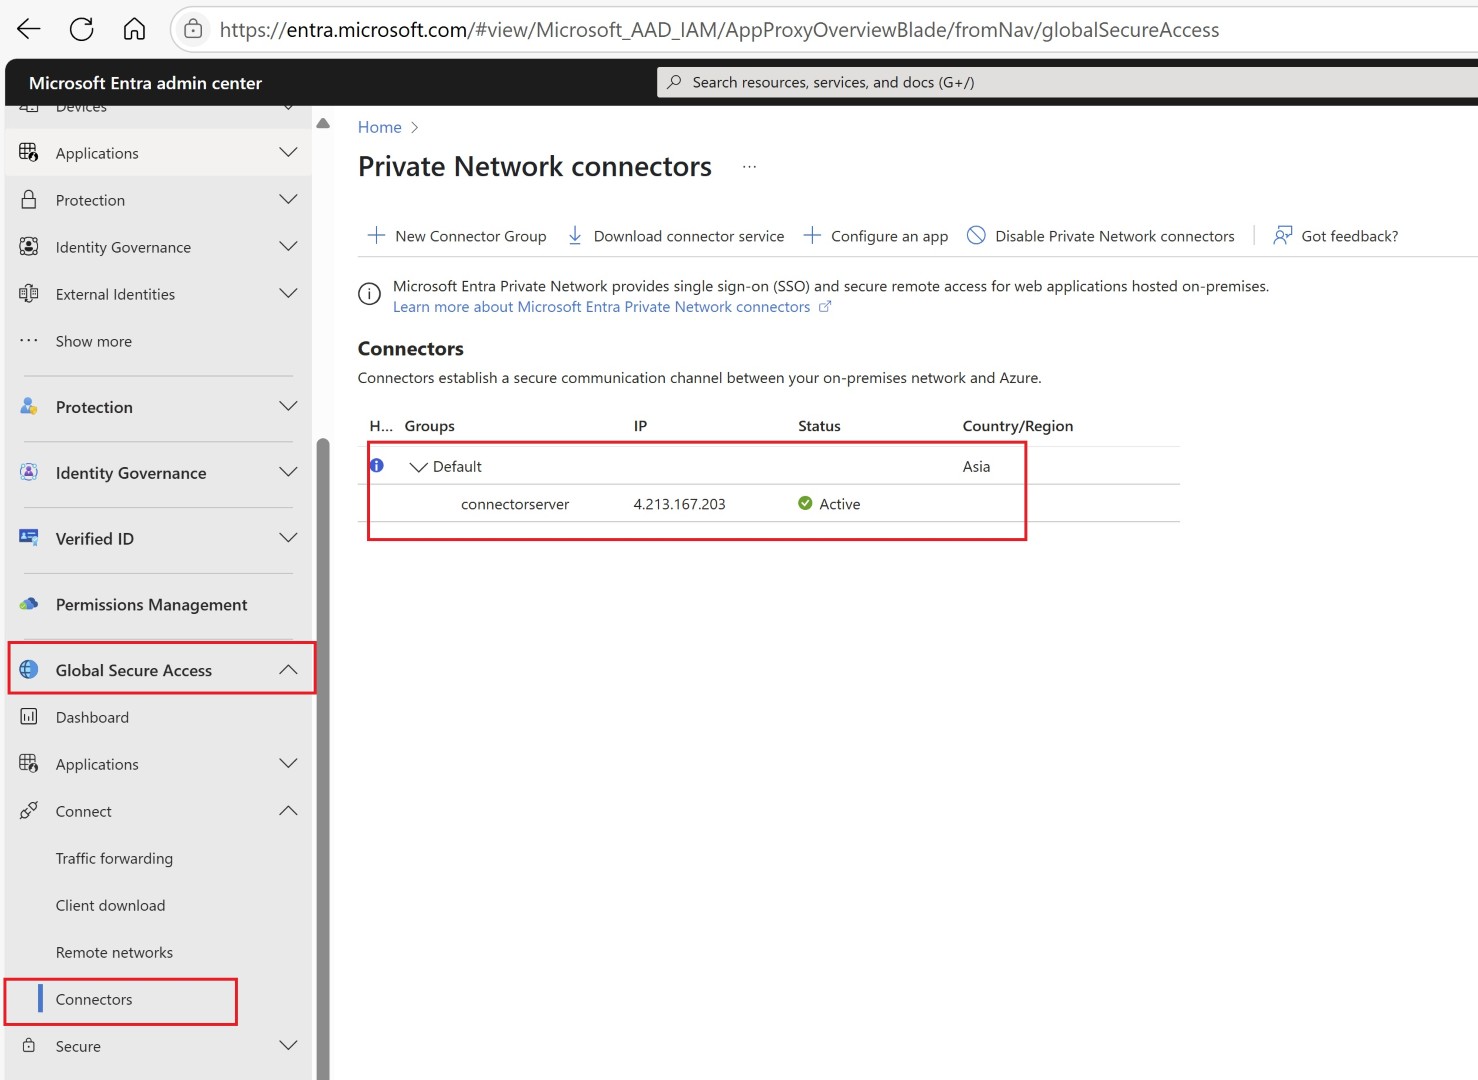
Once installation is completed you can validate the connector by checking on the Entra portal. You can create connector group and based on the purpose group the connector. Here we just have one connector appliance.
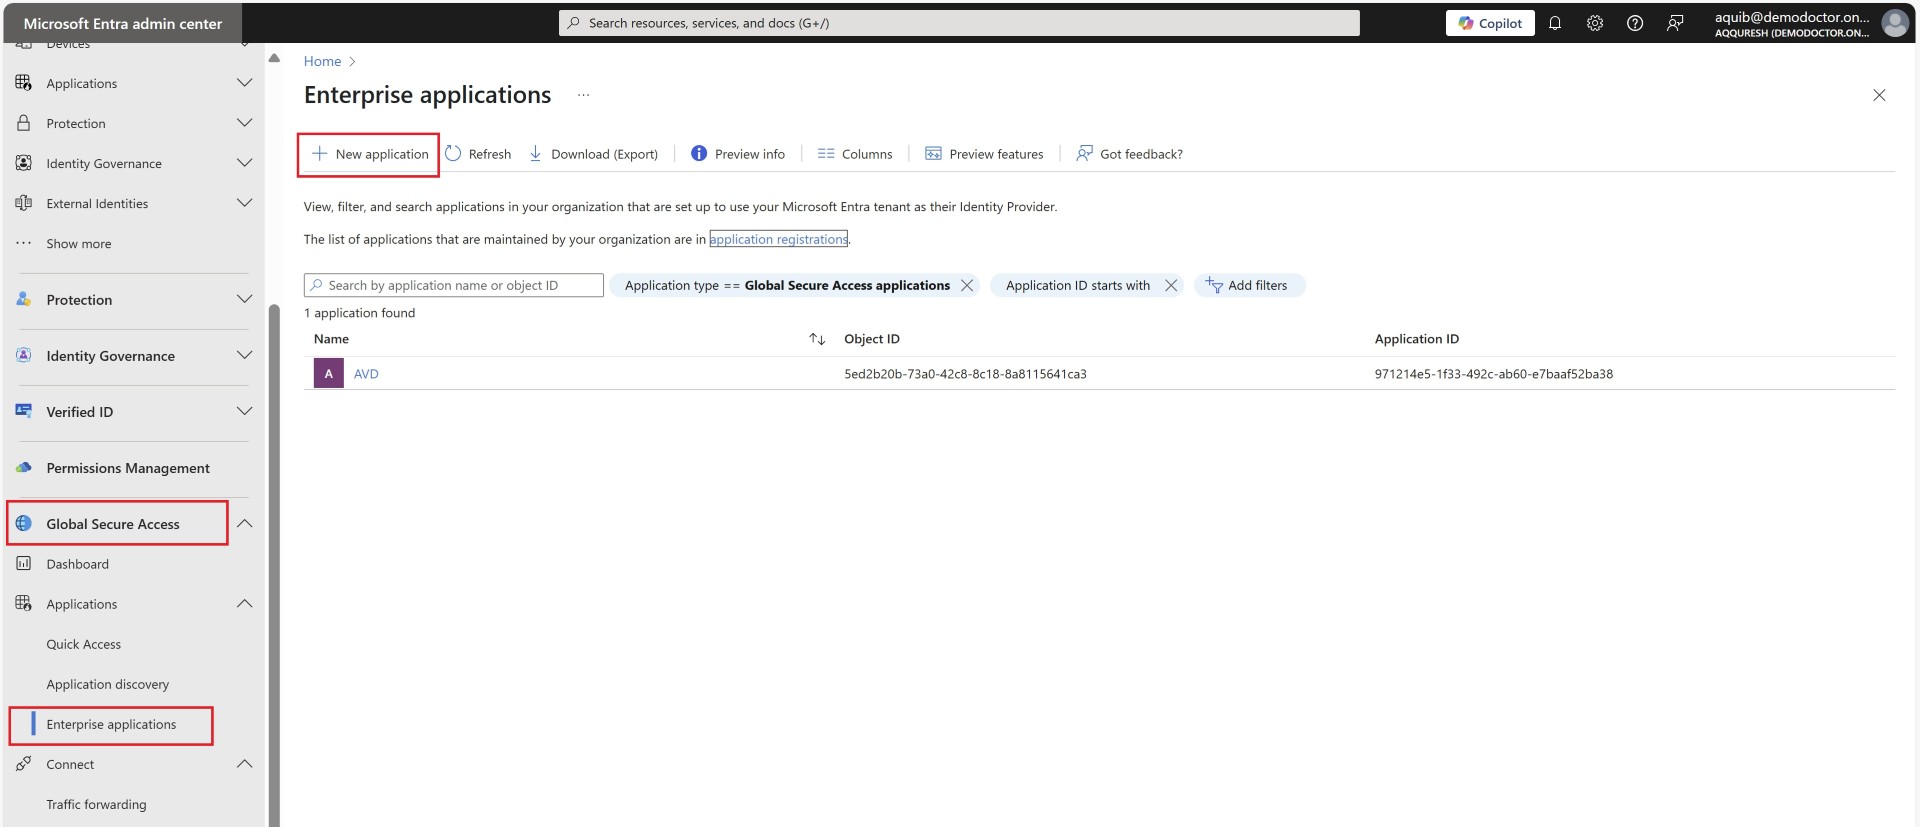
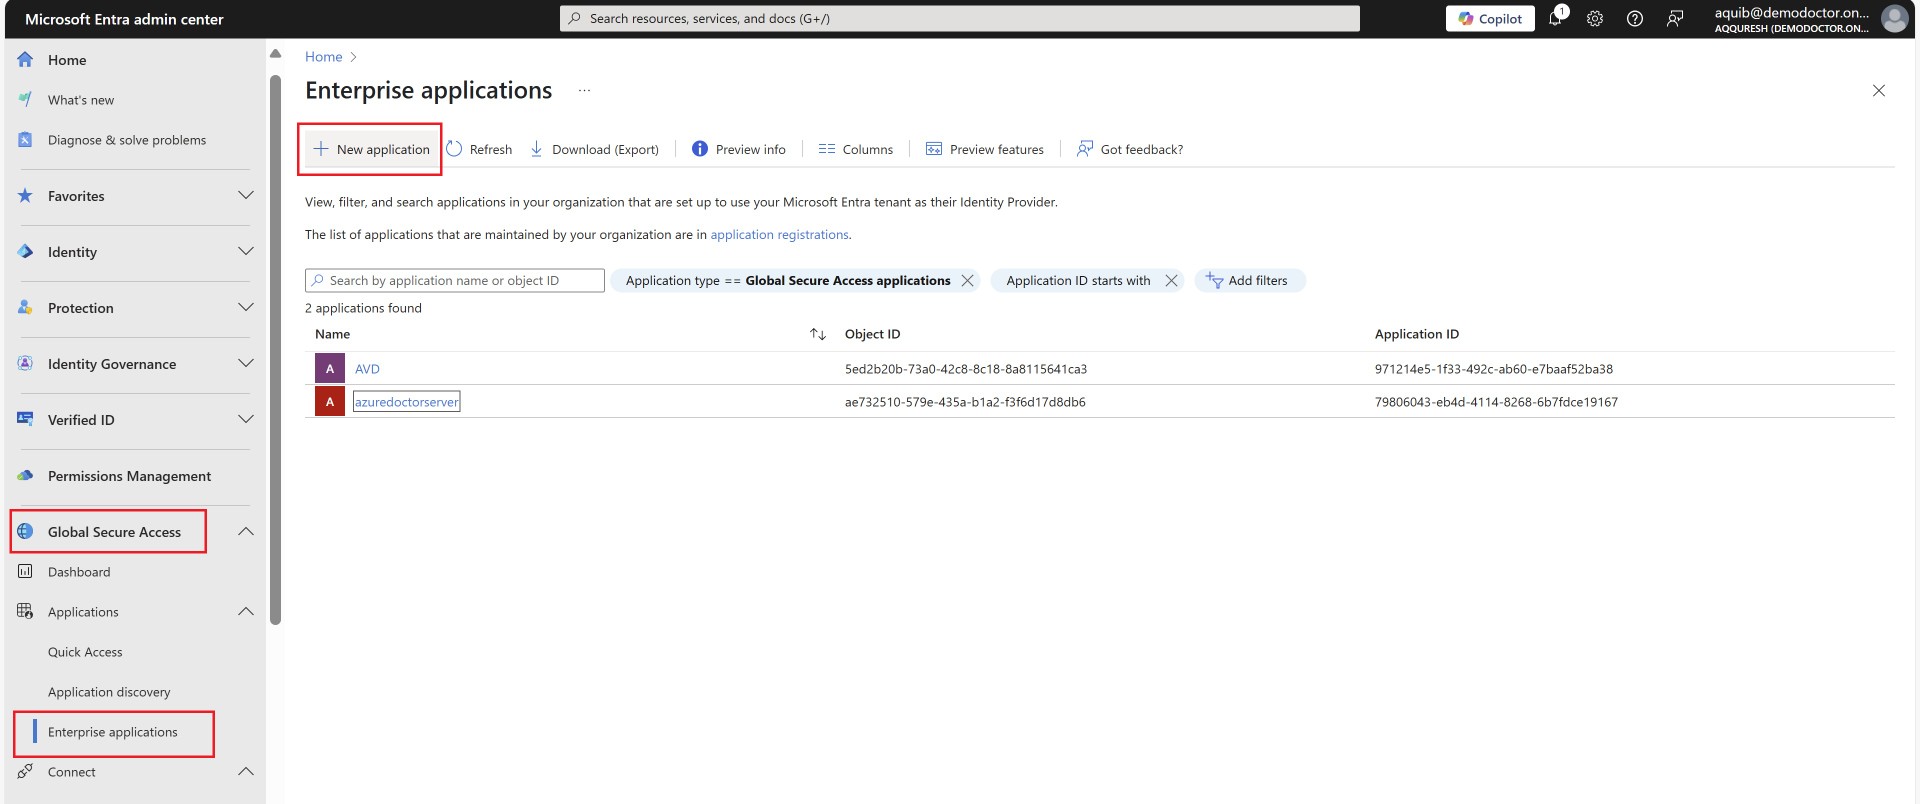
Enterprise Application creation
For all the applications you want users to access, you’ll need to either create applications or add their IPs to Quick Access. Quick access app is kind of default app for all the users who connect via private access. However it is always better for management and segregation you create apps. Here, the application we’re referring to is an Enterprise Application, which you may be familiar if you’re managing Entra ID.
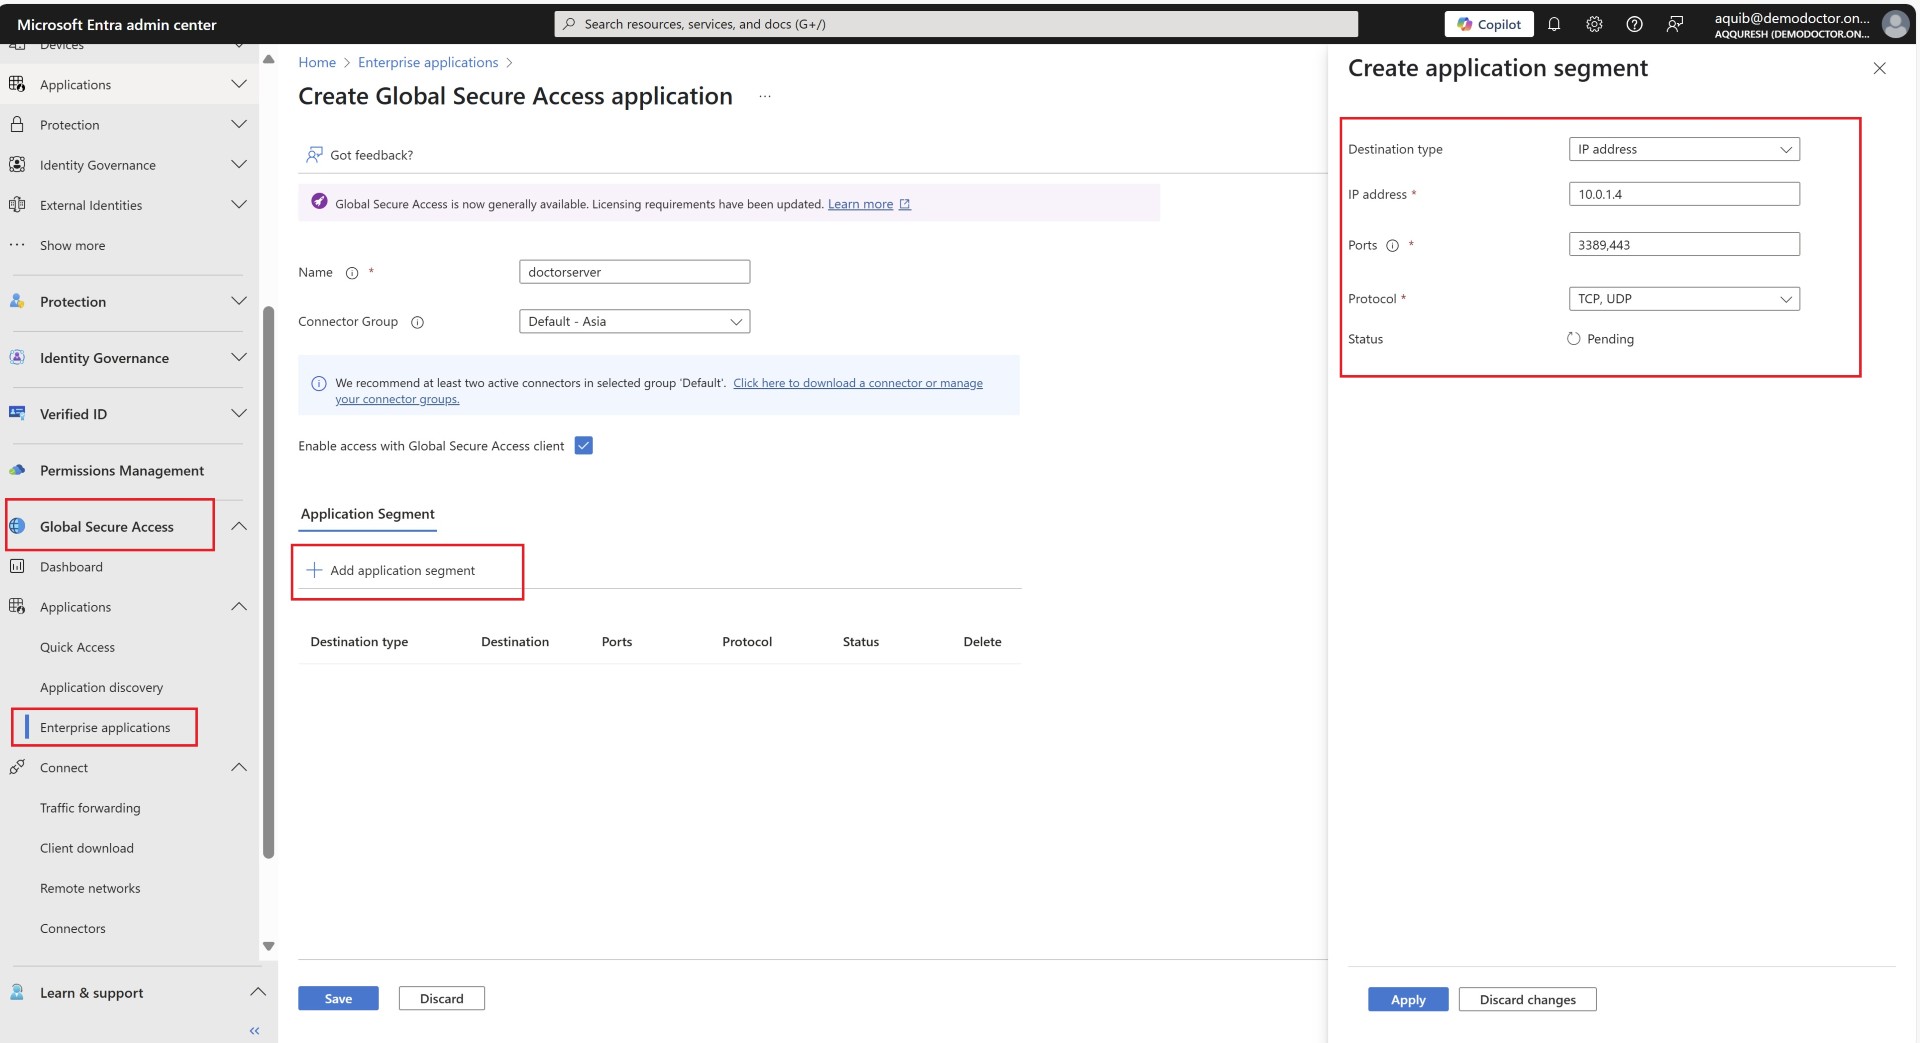
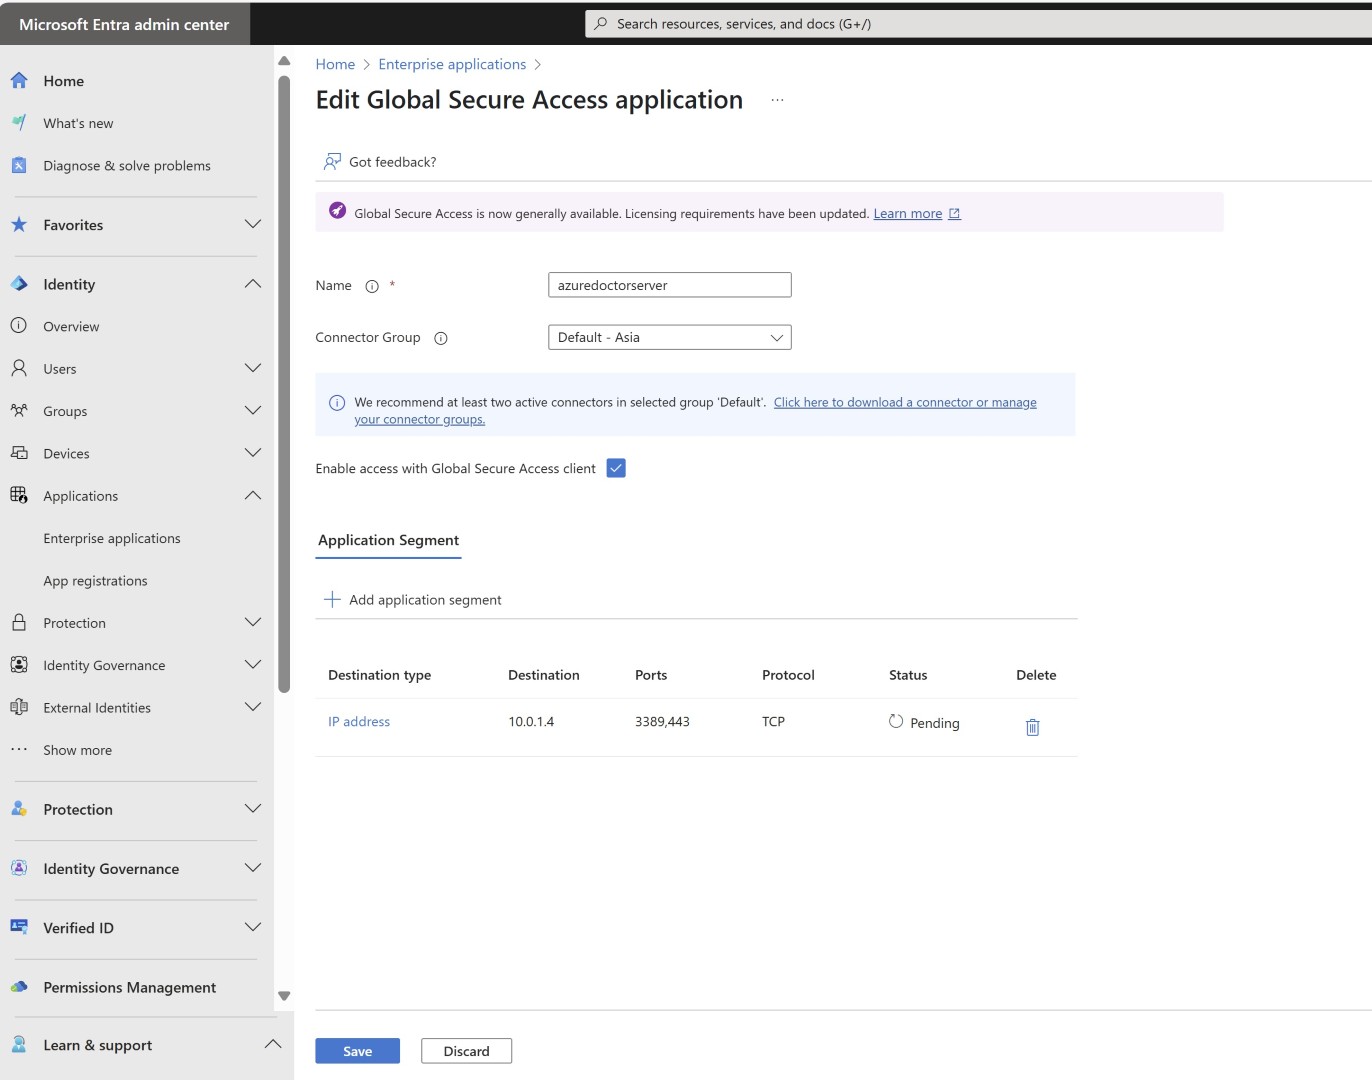
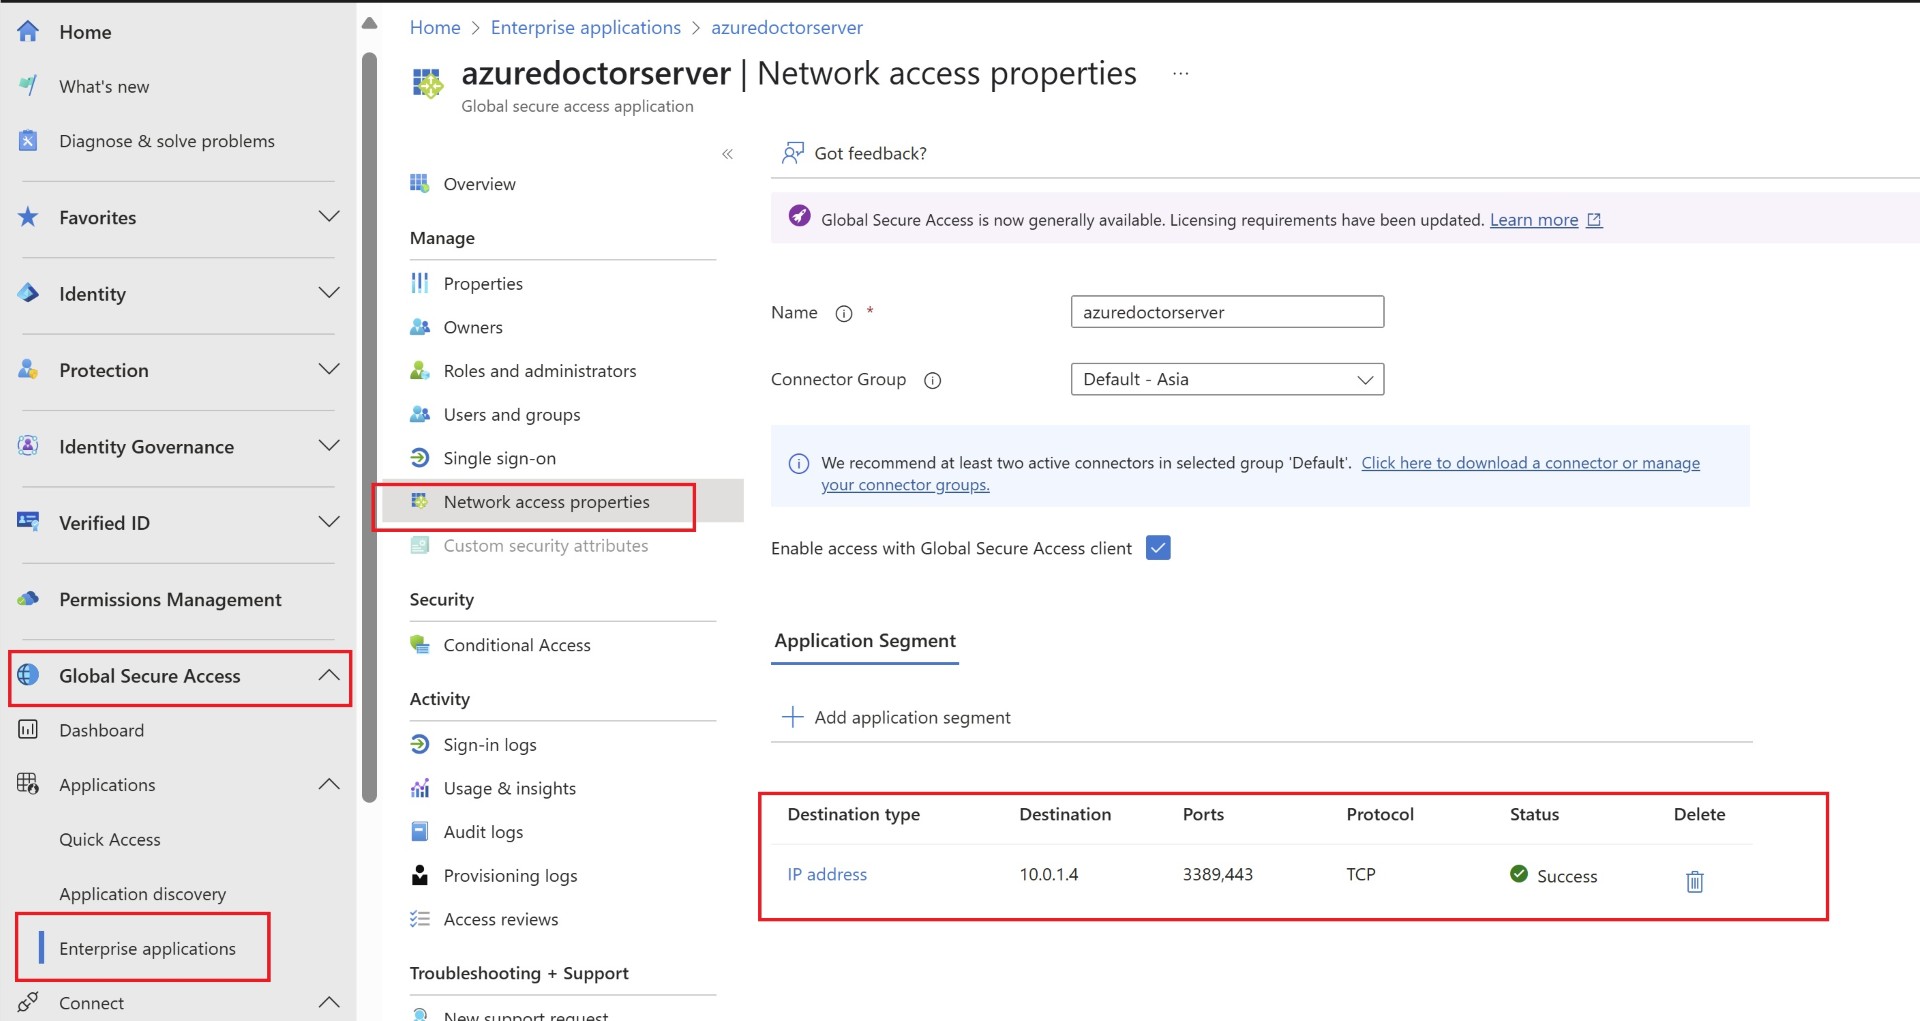
Specify the IP address of the server or application and the required port numbers. For example, if users need to take RDP or access a web application hosted on the server, you should include ports like 3389 and 443.
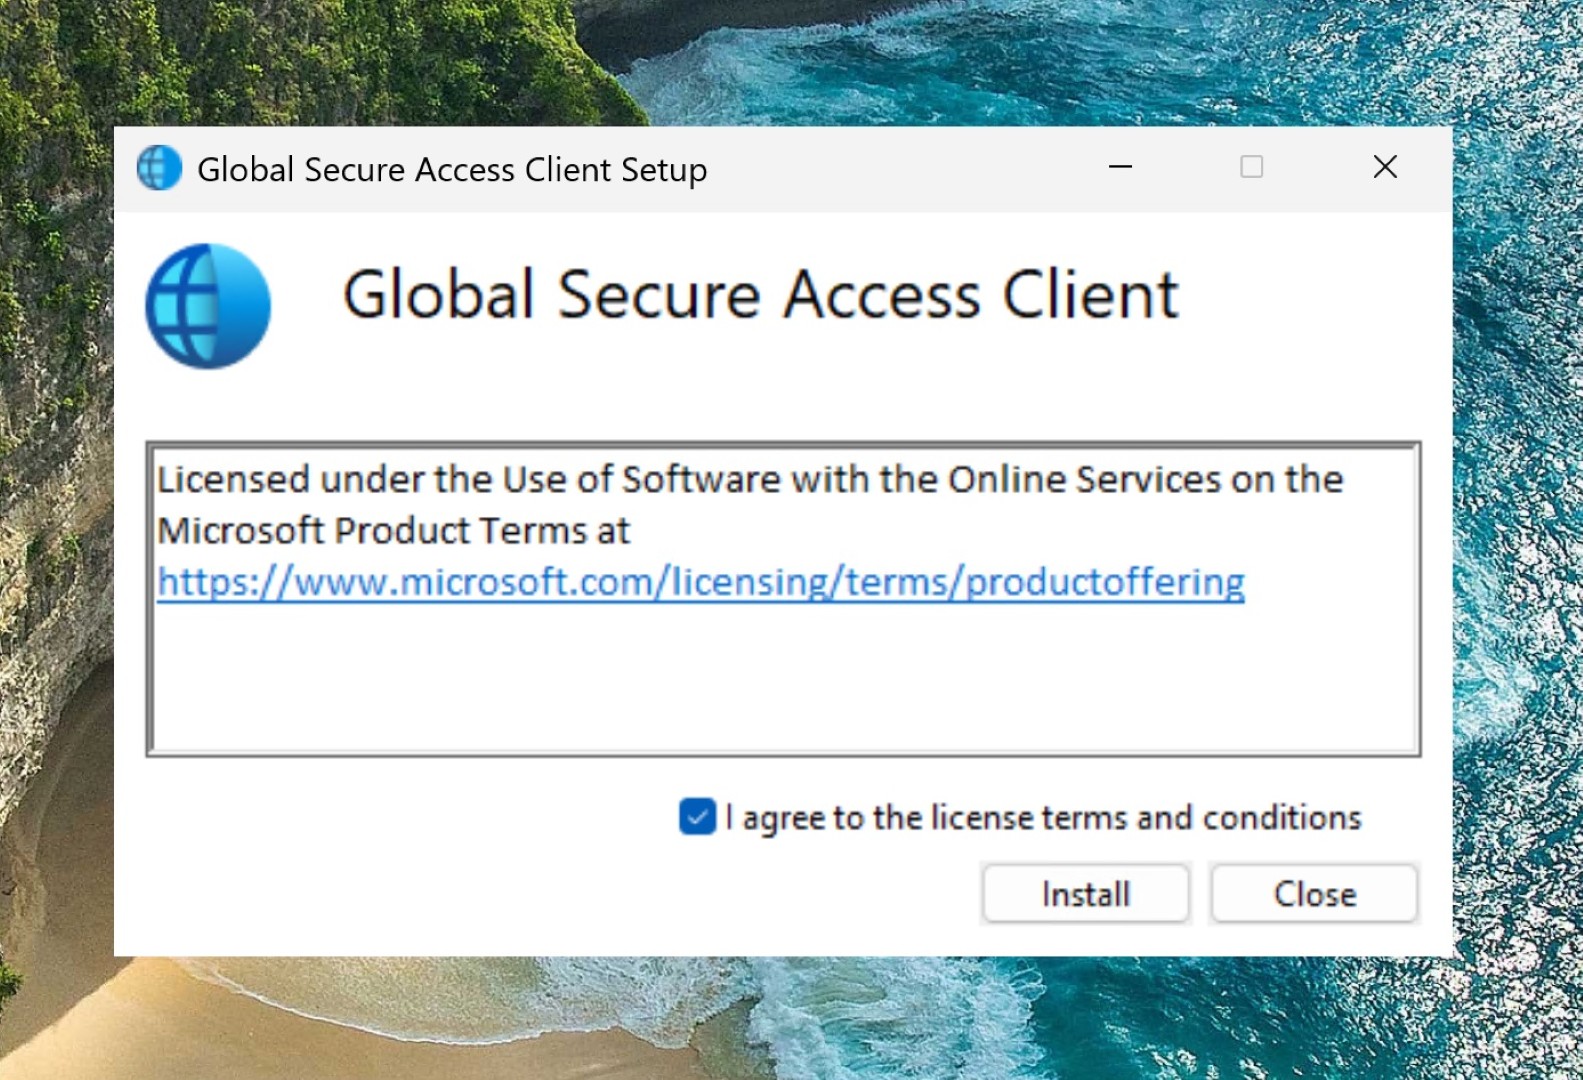
Installation of GSA Client
https://entra.microsoft.com/#view/Microsoft_Azure_Network_Access/Clients.ReactView
Download the client from the above link and install it on the endpoint. You can also use Intune to push the agent for automated deployment.
For this test, we’ll proceed with manual installation.
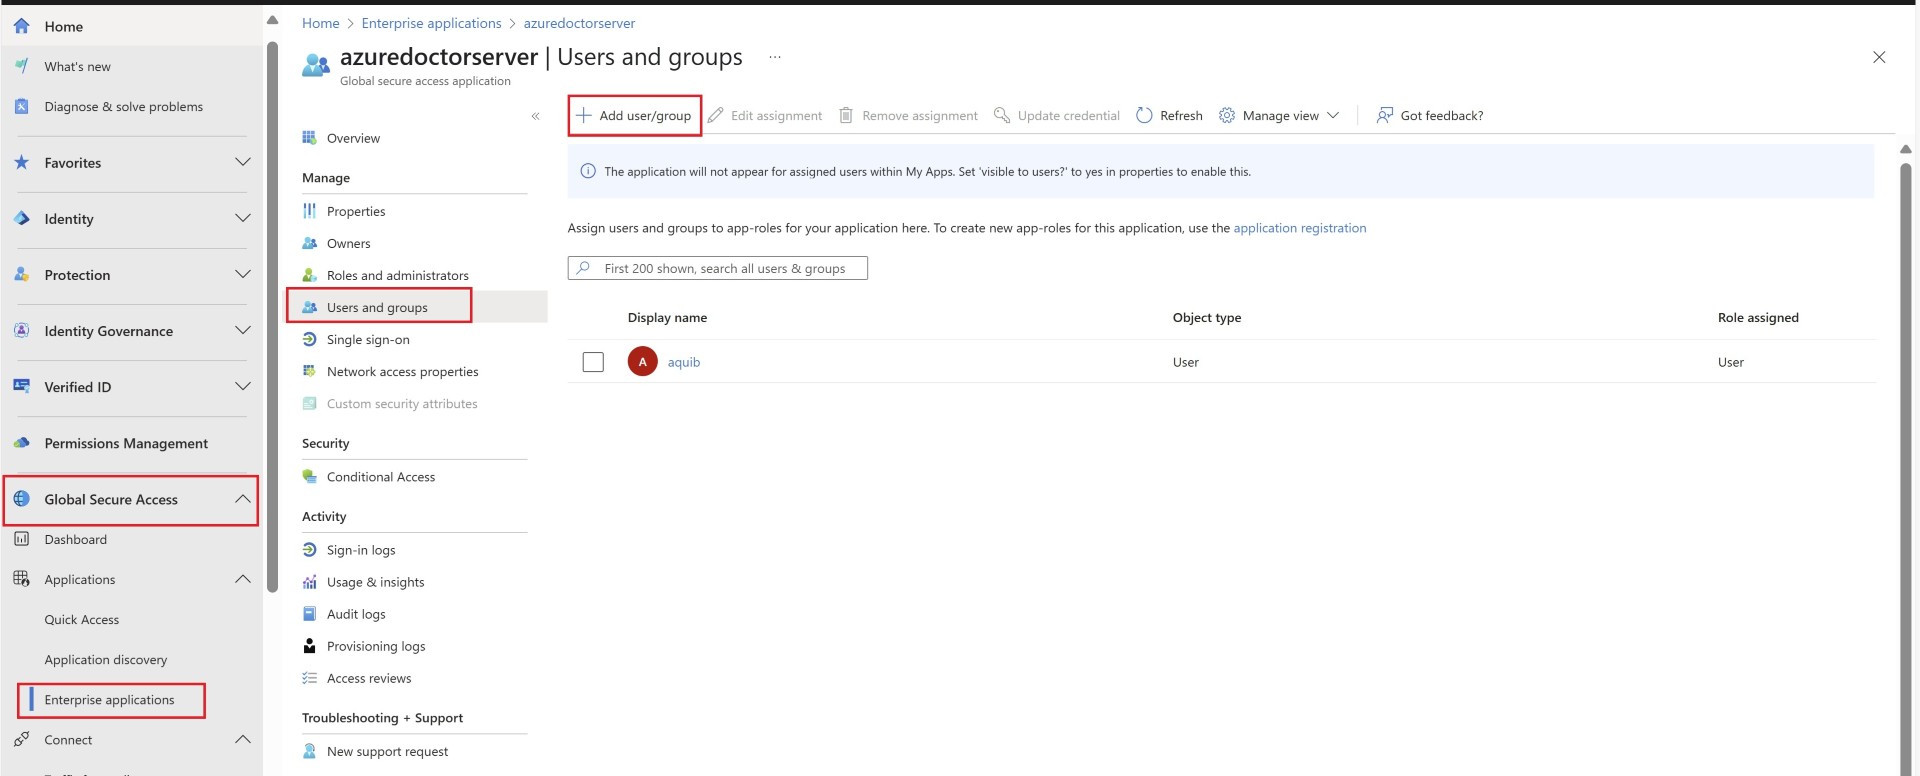
We’ll have to assign this application to the user so that the Private Access rules for this application are associated with this user.
Testing
All the configuration is done, now whenever there is a traffic which matches the IP address or FQDN of the application and if user is associated to that application, then automatically those connection will be proxied via the GSA client to the connector. And from the connector to the actual application.
Rest of the connection which doesn’t matches the application network segment would take normal internet path from your desktop/endpoint.
Diagnosis
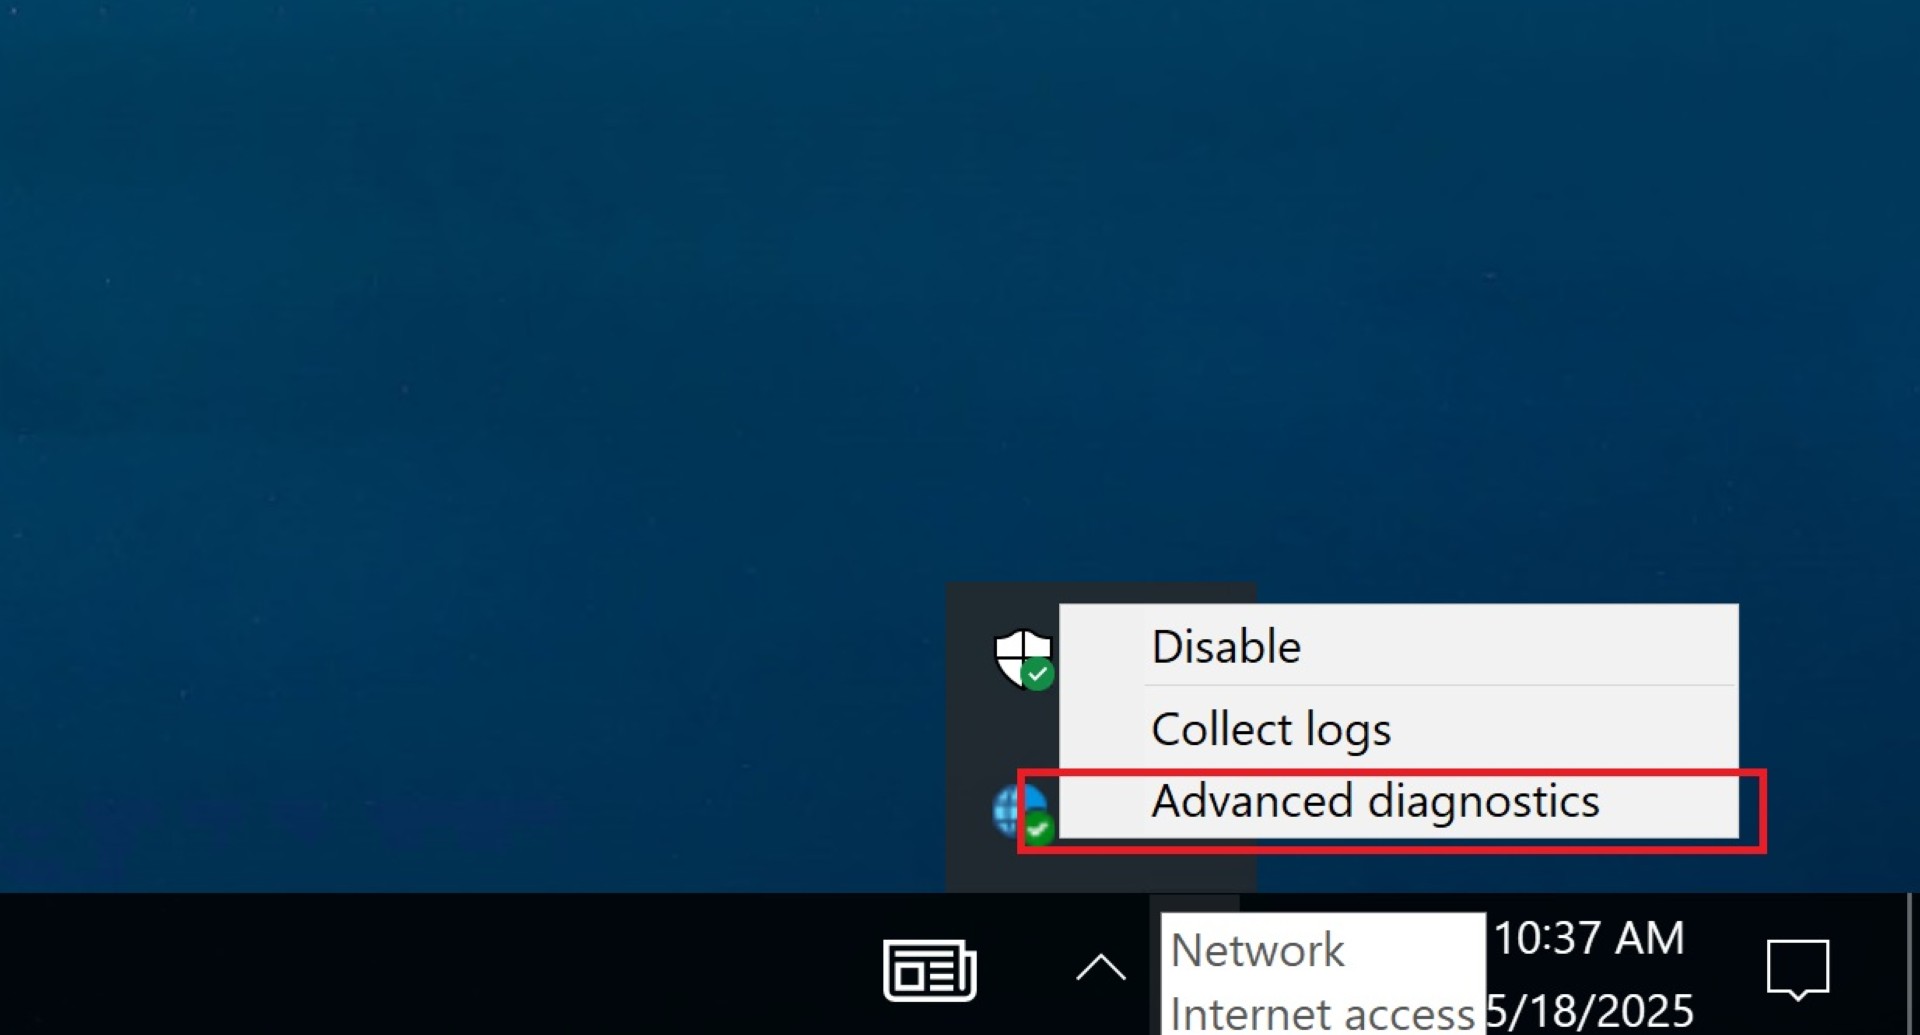
Now let’s goto the setting of client and see the traffic.
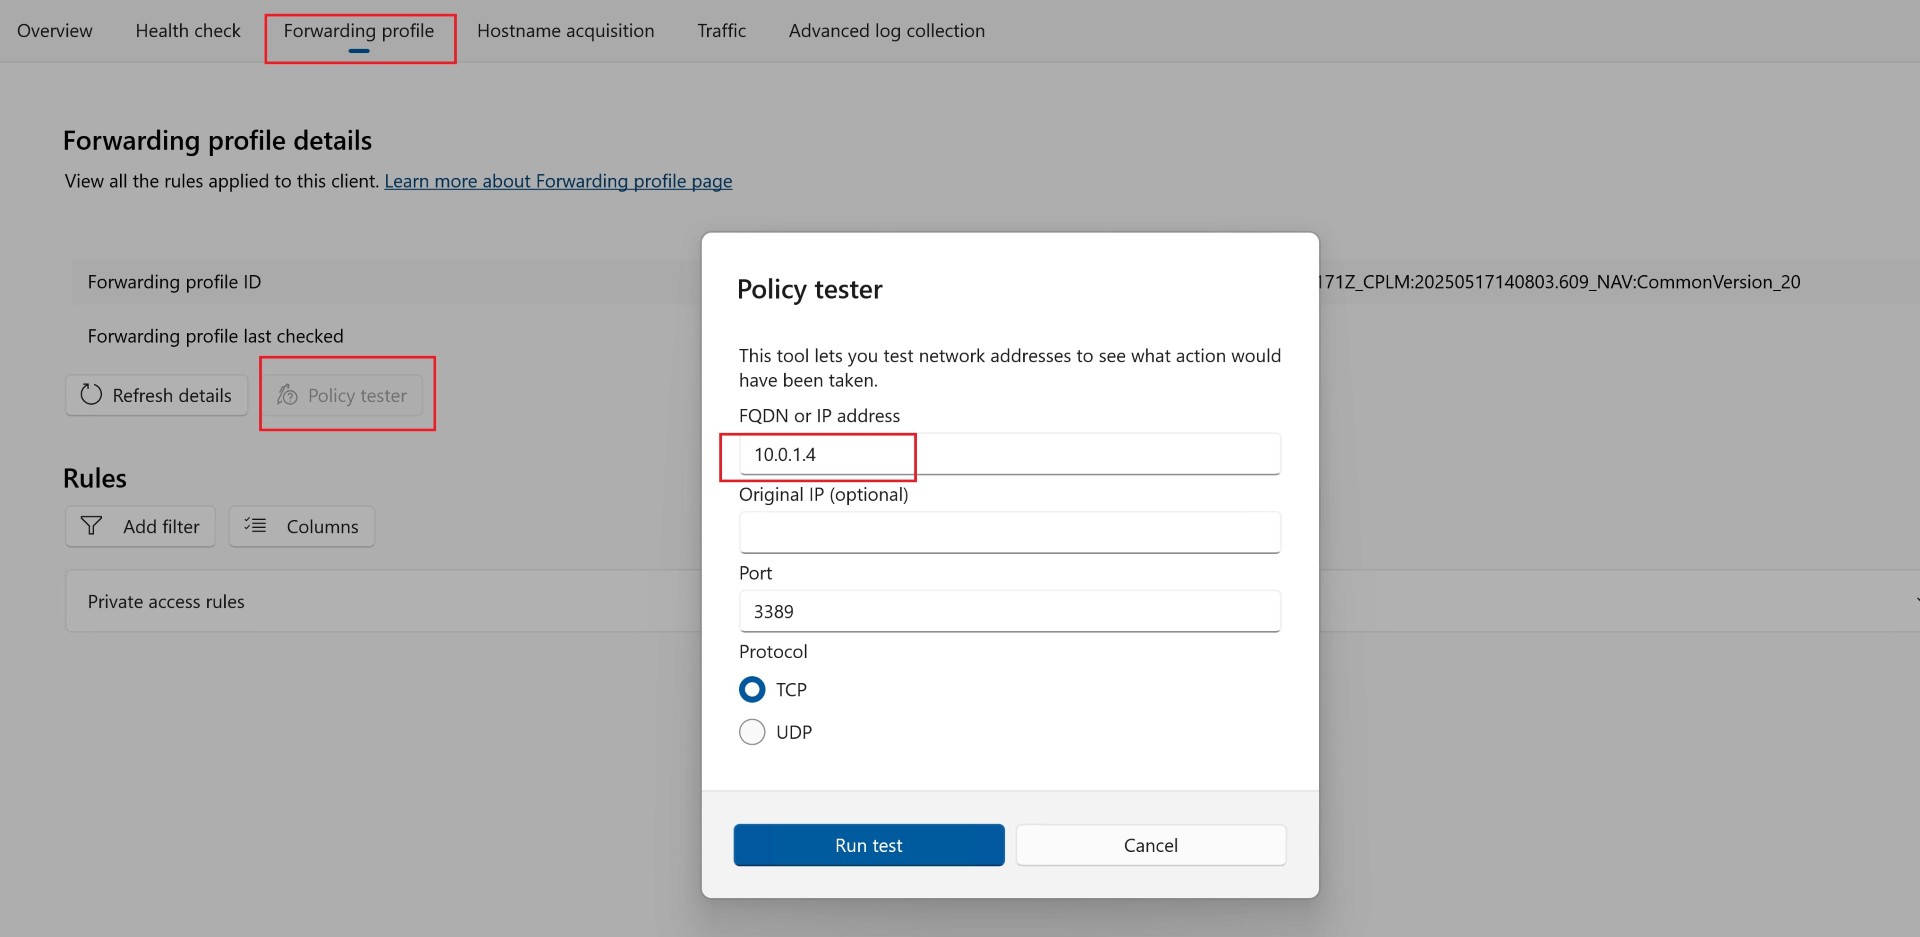
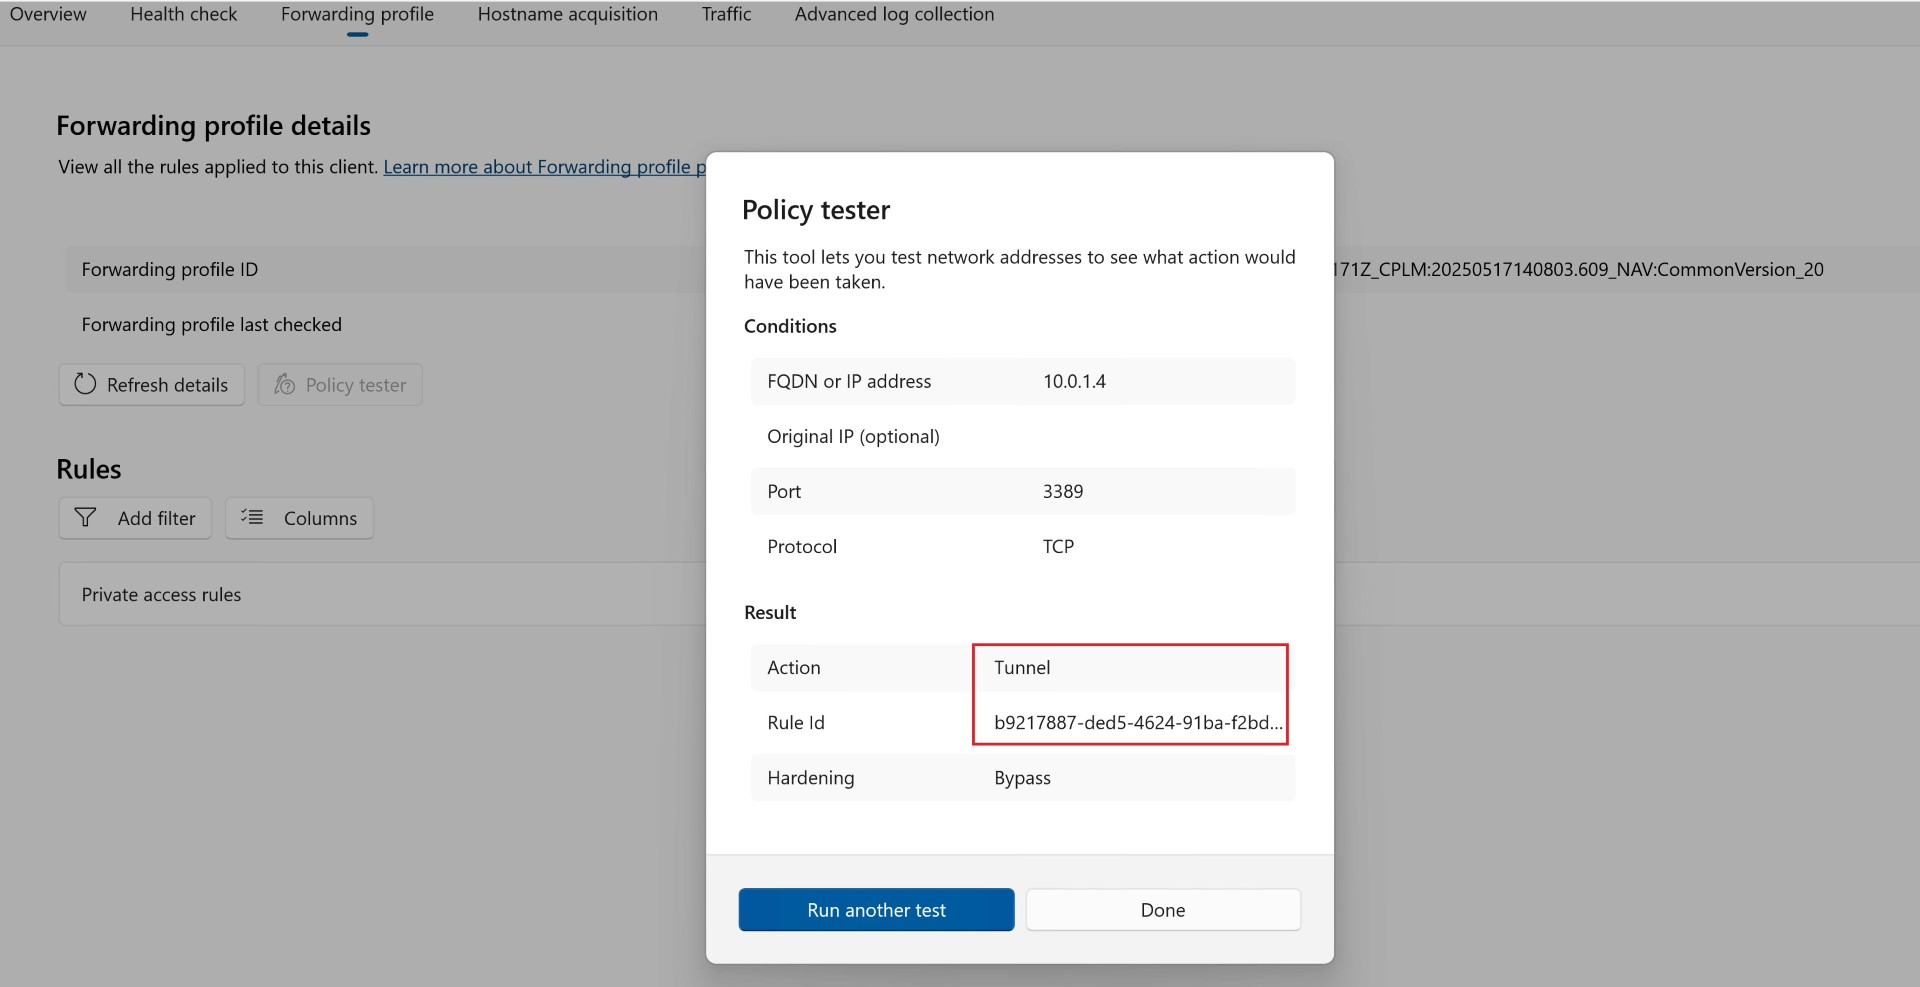
You can also check whether the traffic is being sent via the GSA client through Policy tester.
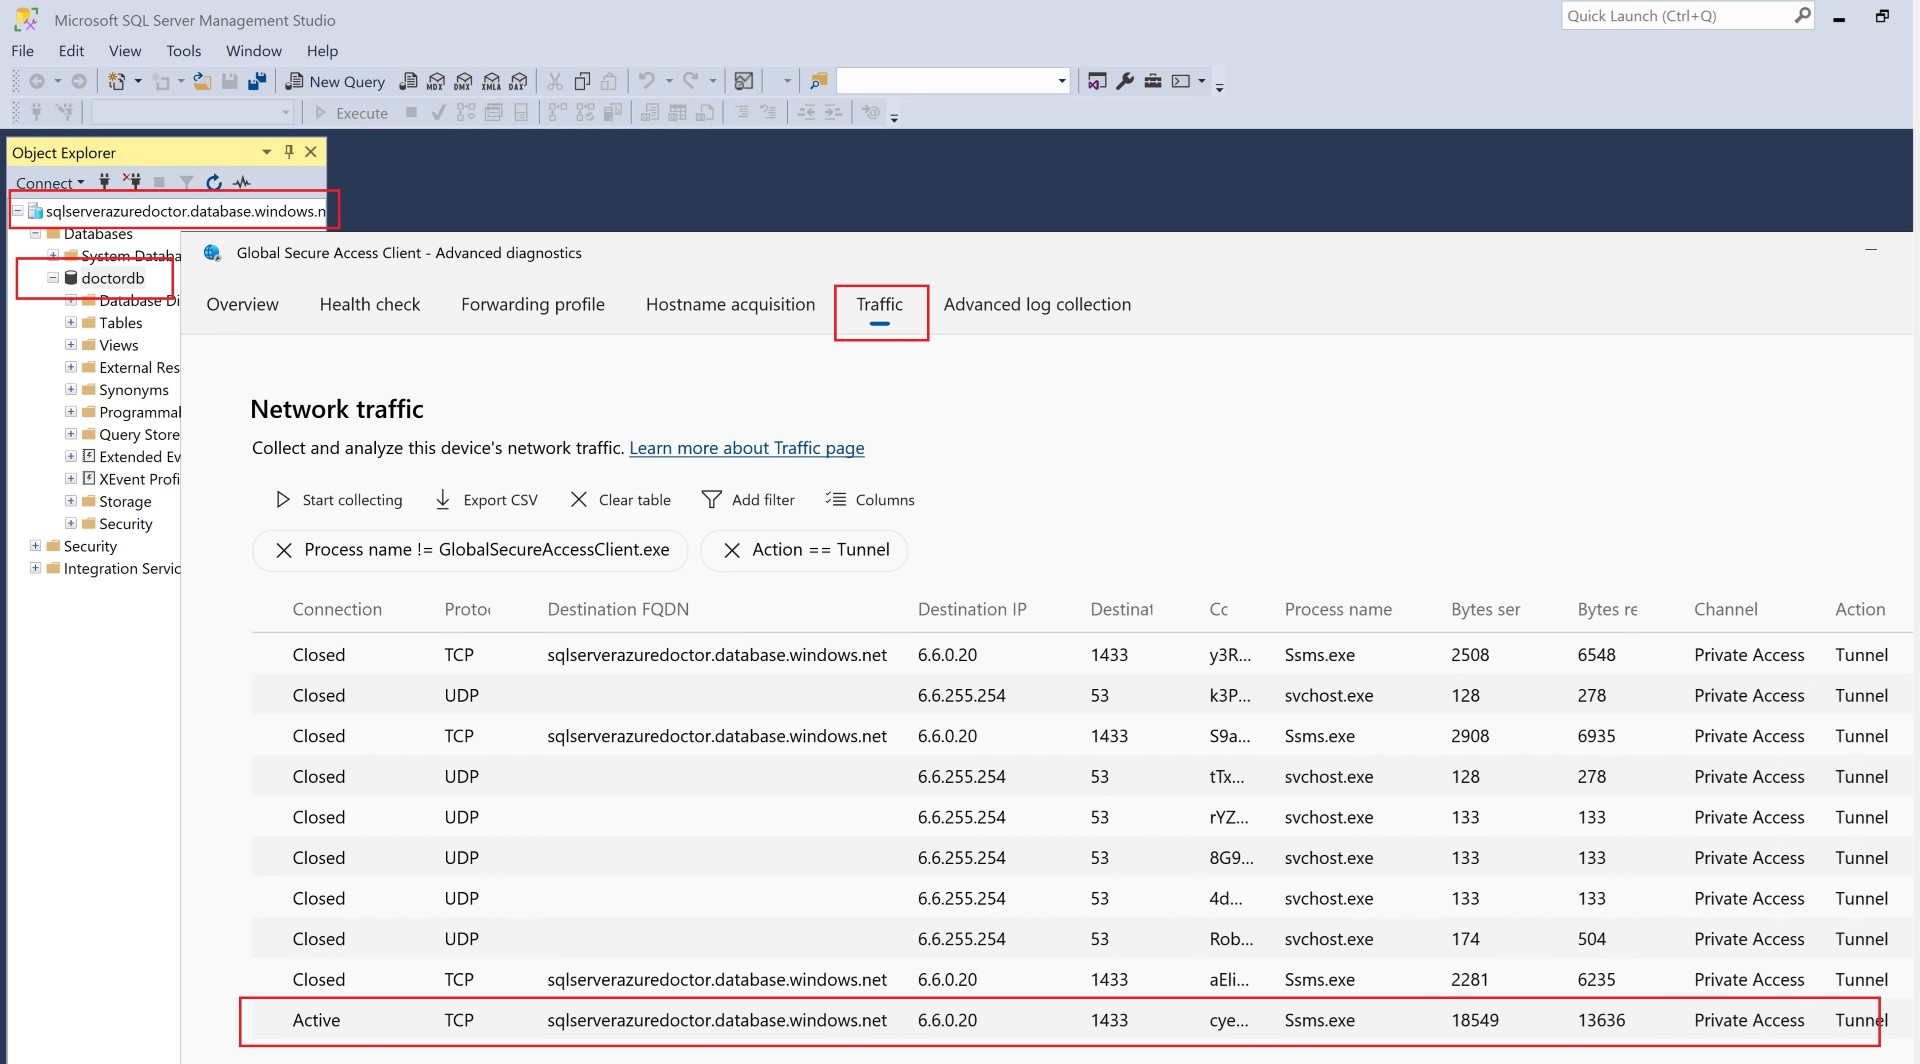
I’ve done similar testing to connect to Azure SQL Database from the client/endpoint securely. Azure SQL Database is exposed only via private endpoint.
Create an application for Azure SQL DB server.
Specify the FQDN and port.
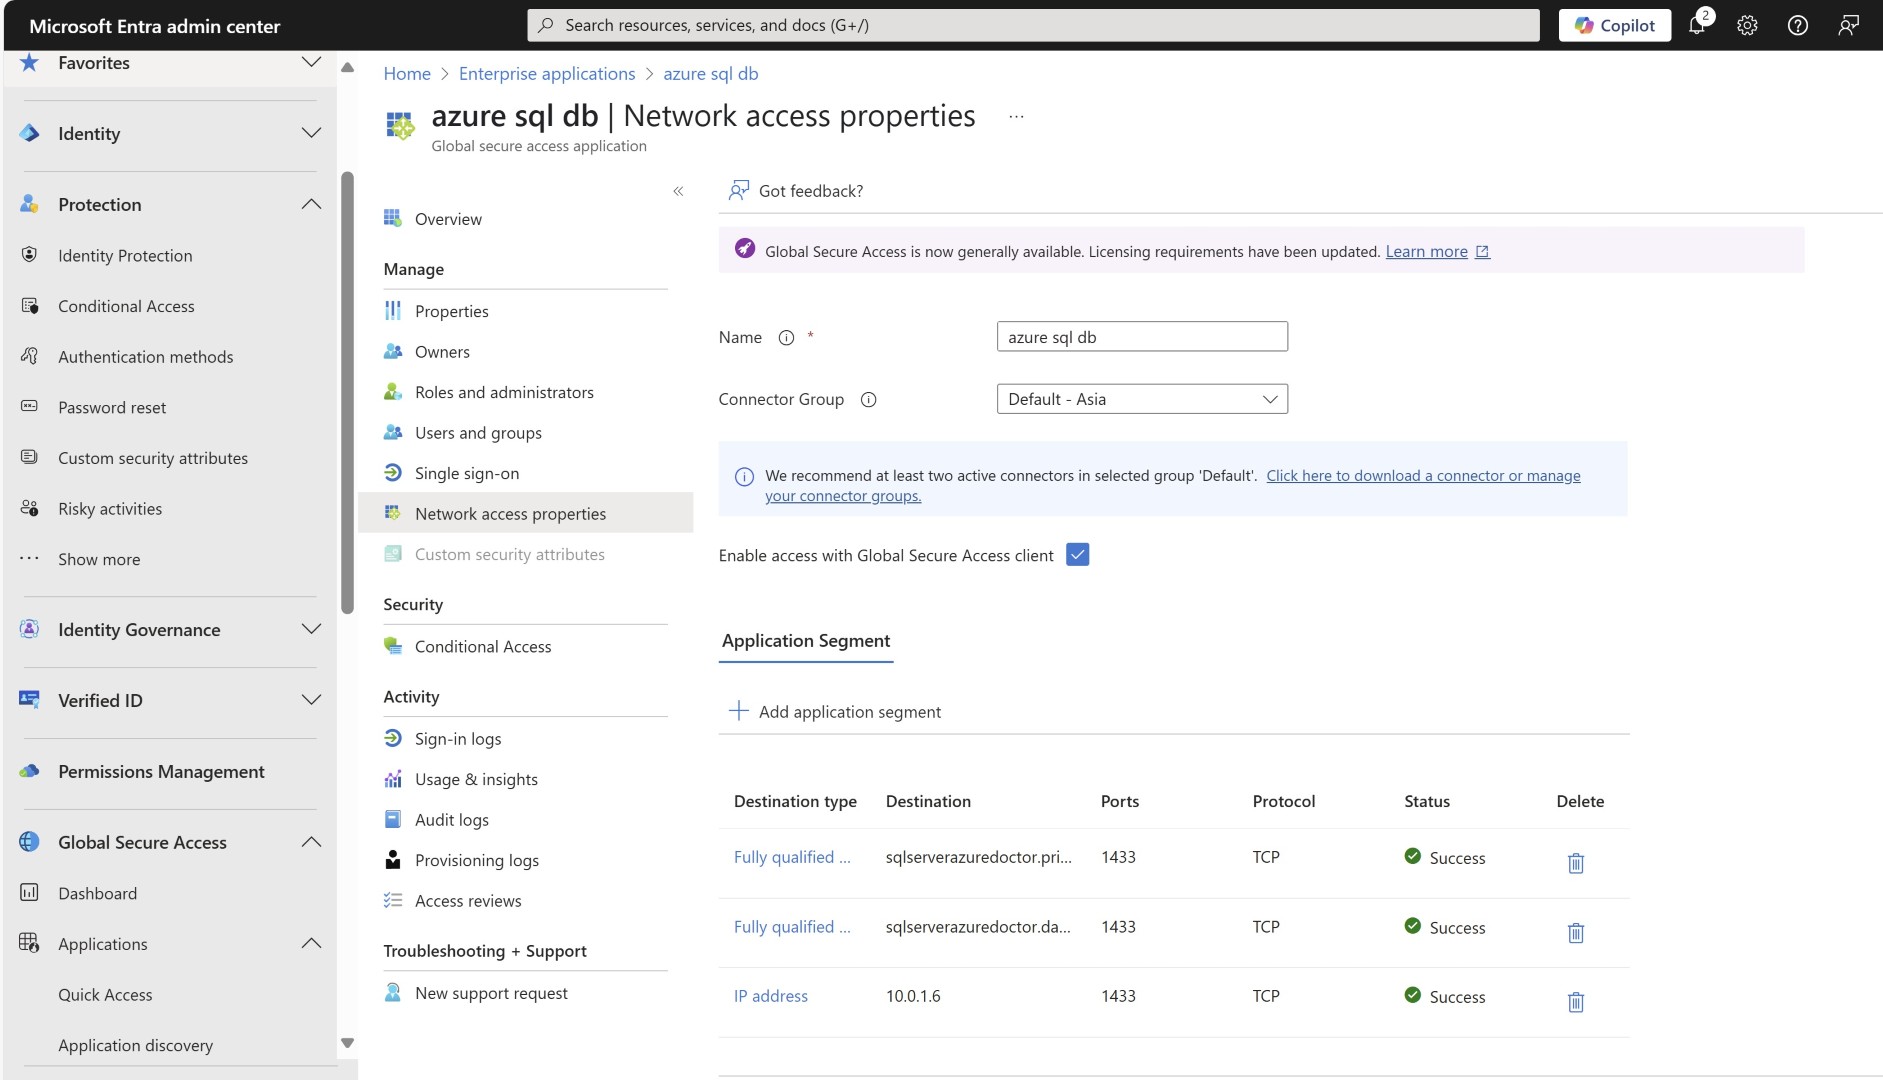
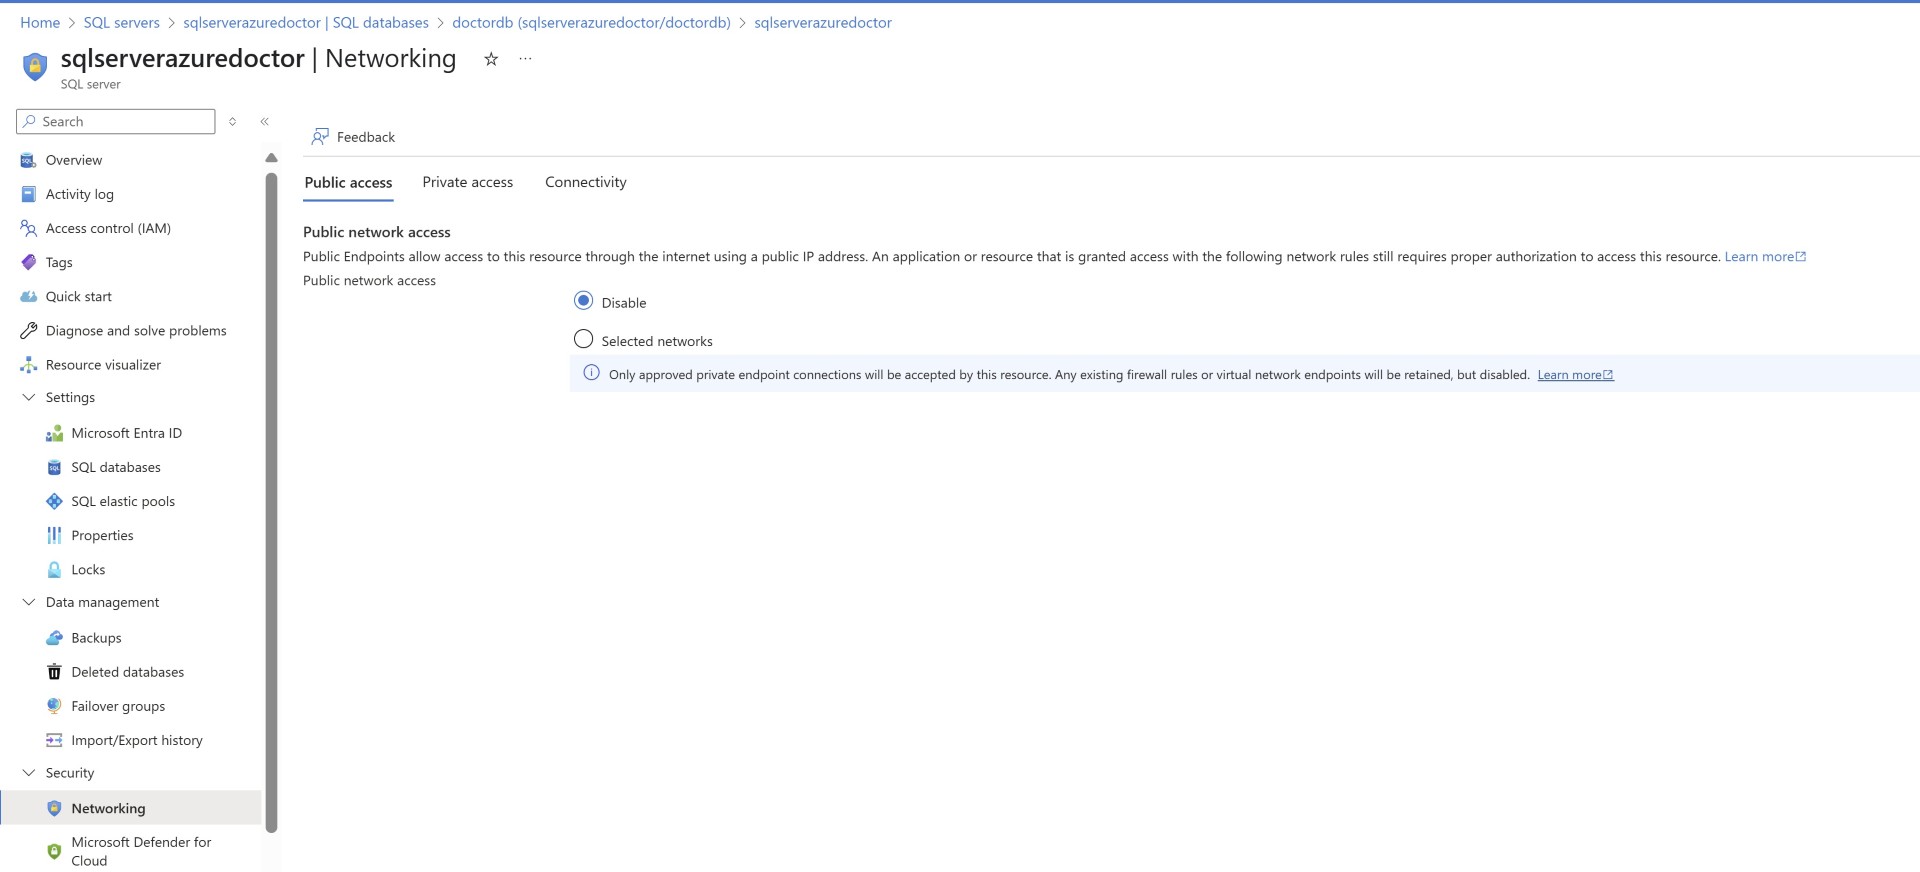
Make sure you’ve disabled public connectivity for your Azure SQL DB.
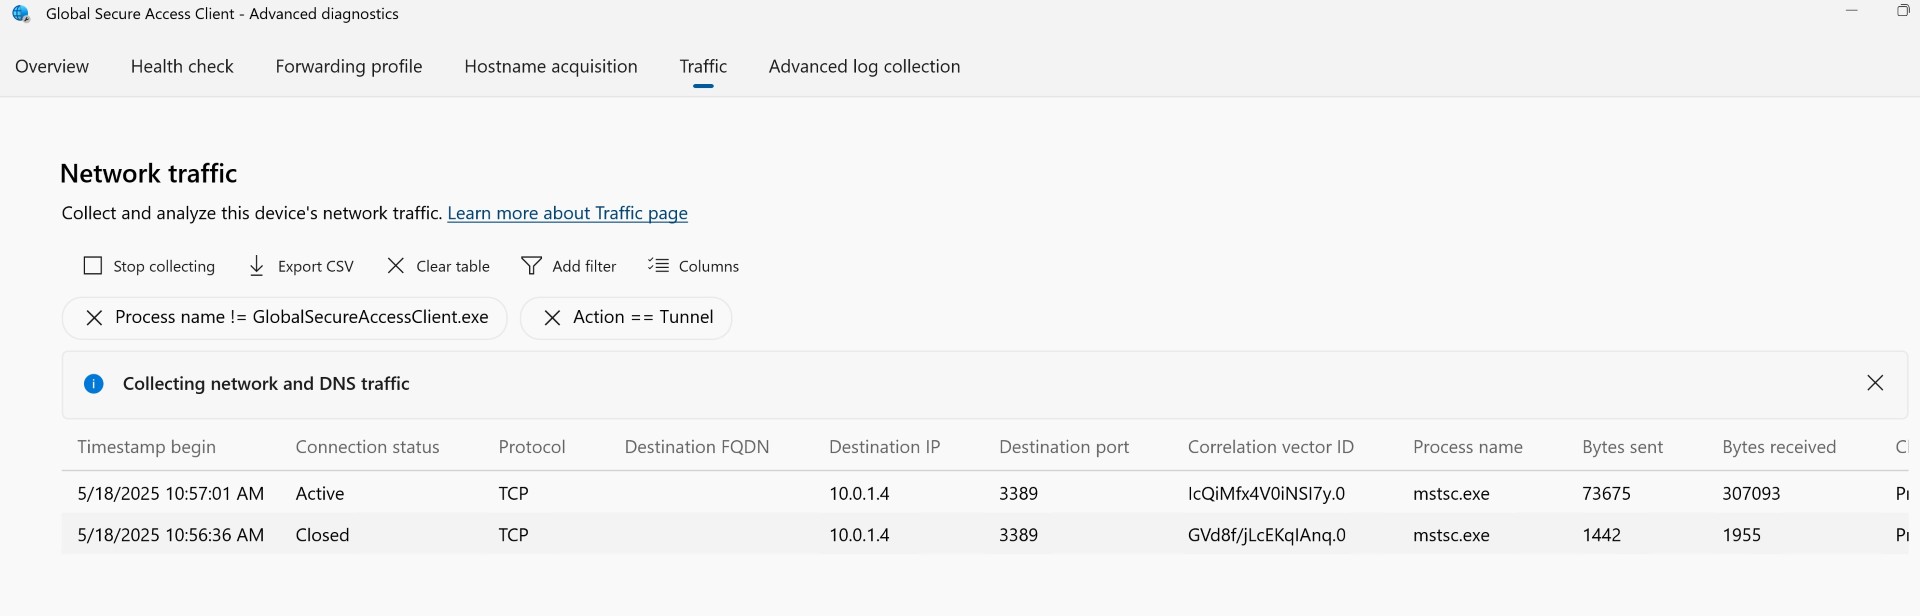
To validate whether traffic is truly passing through the GSA client, you can enable the traffic collector.
I hope you find this blog useful and that it helps you in setting up Entra Private Access. Share the blogpost if you like it.
Happy learning
Subscribe to my newsletter for the latest posts and summaries. Your privacy is paramount, and your email stays with us securely. click the link to submit your email. https://forms.office.com/r/6ysKm4nkp4